Thursday 27 February 2014

Slow but steady progress

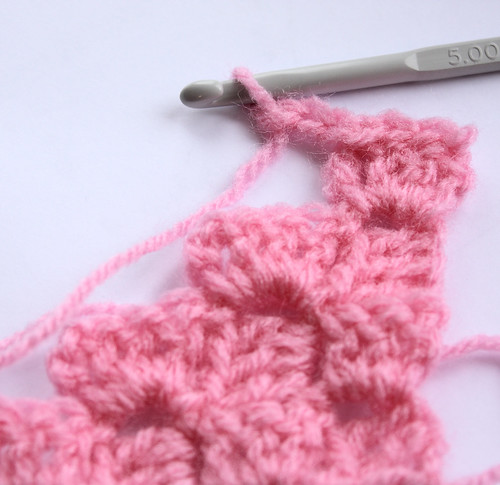
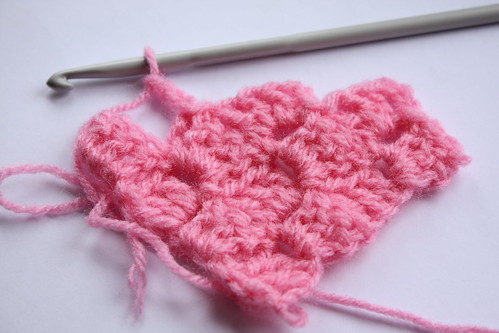
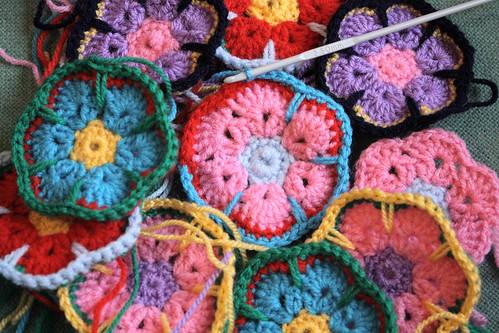
I am making a Fatty Lumpkin pony, one of Heidi Bears' delightful African flower animals. I finished all the motifs and I'm now busy joining them all together.

It's a slow process, but I'm getting there. Doing the join-as-you-go has involved quite a few mistakes and some muttered curses, but it does create a neat finish and it means that the joining is accomplished as you crochet the final round of the motifs. Ideally I would have liked to make a hippo first. Hippos are blobby in shape and they therefore look a bit easier than a Fatty Lumpkin, but due to starting a new part-time job I didn't have time to make the creatures for Christmas presents and the eldest grandchild (who is getting the pony) has her birthday first.

The only consolation is that the hippo should seem easy once I've mastered the pony!

So far I have put together Fatty's bottom and hind legs.

Fatty Lumpkin is progressing

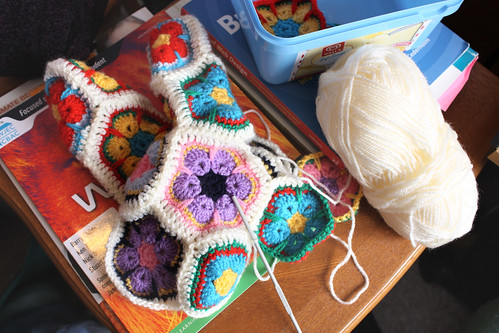
The crochet is resting on some books I've been using for work teaching a GCSE English re-sit class and a couple of modules on a foundation degree.

Monday 24 February 2014

In which I finish a hat just as the weather turns warm

I have finished another project. This time it's a slouchy hat. To be honest, I would never have attempted the pattern based on the photos posted with it, but someone on Ravelry had done it in a chunky tweed effect and added a flower. As I had some blue Marble Chunky to use up, I decided to copy what she did.

Blue crochet slouchy hat

I didn't do as many increases or as many rows as the pattern says because of using different yarn and hook size, but I'm very pleased with the results. It actually looks good on me! If I sound surprised, it's because it's not easy to find hats that suit me.

Blue crochet slouchy hat

The pattern is available free here. The flower was from Crochetgeek, also on Ravelry and available here on the Crochet Geek blog.

I was planning on wearing the new hat for our visit to London later this week, but the weather (which has never dropped below freezing all winter) has just turned even warmer, so my poor hat may not get an outing until next winter. Though having said that, March can be very cold and windy, so we will see. :)

Saturday 22 February 2014

Giving cushions a makeover

Partly to brighten up our sitting room and partly to use up all the yarn I bought for projects that are not now going to happen, I've decided to revamp all the cushions. This is the first. I think it came out quite well, considering I just improvised the design.

I used the Redheart corner-to-corner pattern to make 2 squares which were sewn together round 3 sides and buttons added on the back of the cushion to close the top. The border is just a simple shell stitch, a simplified version of the border in the Redheart pattern. (I didn't like the picots, so left them out.) The yarn is James C. Brett Marble Chunky from my stash. Very simple and quick to do and it matches the snuggly corner-to-corner blanket I made for myself!

Front

Corner-to-corner cushion

Back

Button fastening

I plan to work my way around all the cushions now, trying out different designs. A cushion cover is an good size for experimenting with new stitches and there are only so many blankets a small house and two people can use! :)

Sunday 9 February 2014

How to decrease when crocheting the corner-to-corner stitch

Someone on the Creative Crochet Crew -- The Group Facebook group was getting in a muddle over where exactly to place the slip stitches for the decrease when making a corner-to-corner blanket. In order to try to help, I did some photos which I thought I'd also post here, so I have the tutorial handy in case anyone else has a problem.

1. Here is what the piece looks like as you finish the last of the increase rows. Until now, each row has been getting longer, but from now on, we're going to decrease to stop the piece growing and instead get it to narrow down to a point.

The end of the last row of increases

2. Turn the work and slip stitch into the trebles (US double crochet). I find that crocheting into just the two nearest the 3 chain loop works best.

Slip stitch into the trebles

3. Now slip stitch into the 3 chain loop which is on the same block.

Slip stitch into the 3 chain loop

4. Chain 3. You can see where the next block will fit. The decrease has started to make a straight edge and from now on, the project begins to decrease in width.

Make 3 chains

5. Here the decrease is complete and we're working the rest of the row.

At the end of this row, you can either carry on increasing, in which case you will end up with a long rectangular strip, for example for a scarf. Or, after you have reached the end of the row and made the turn, you can start to decrease at this side as well.

Decrease complete

Saturday 1 February 2014

Lots of African Flowers

After 2013 being the Year of Blankets, I intend to stick to smaller items this year, namely items for me to wear, bags and toys. As soon as I saw the cute Happypotamus and Fatty Lumpkin Pony designed by Heidi Bears, I knew I had to buy the pattern and make them.

And then 2013 turned into the Year of the Blankets. :)

However, finally all those projects are completed and I have therefore spent the past few days making African Flower motifs whenever I got a spare moment. So far I have 10 hexagons. Still quite a few motifs to go and then the real fun begins when I try to put them all together, but Heidi Bears pattern is very clear with lots of photos, so it should be OK.

Here is a motif in progress. I'm using acrylic double knitting and a 3.50 mm hook. I tend to crochet rather tightly, so I'm hoping these will keep the stuffing in OK.

IMG_8779 crochet edge copy

And here is a pile of colourful hexagons.

IMG_8787 African flowers copy

I'll post again when I have a finished pony.